4 Methods to Attach Industrial Shrink Wrap
Mar 6th 2017
Shrink Wrapping of Large Equipment, Boats and Construction Projects is a useful tool for protection of the item(s) and the environment surrounding them. You can keep water, dust and other containments off items when transporting and storage. You can also keep paint, dust and debris contained to the construction work site. There are several methods to start and stop the shrink wrap and hold it in place while you heat it to a tight contained package. Attachment may be the most important step to the Shrink Wrapping Process! Getting the tough skin tight barrier you desire, relies on proper attachment. Having a suitable attachment method ensures the plastic will not pull in or let air flow enter inside your enclosed wrap job. Make sure to have your attachment method planned out before you start your project.
Keep in Mind:
If you are attaching to a wood surface (such as a skid) you will need to use a different attachment method than tape (see the strapping or wood lath methods below). You want zero air-flow within your containment for transport jobs. If you are attaching to paint sensitive surfaces, use Preservation Tape in those areas. If not, use regular shrink wrap tape for a more cost- effective project.
Tape attachment (Most Common):
Attach your shrink plastic wrap with tape (4″ recommended) working your way down the entire object to form a 100% connection between tape/ plastic & object. When running into corners or odd angled areas, form pleats (like wrapping a present) using spray adhesive to temporarily tack the pleats down until you are ready to heat seam those areas with the heat gun. Quick Tip: Cut out large and multiple overlaps of plastic to avoid concentrated shrink wrap bunches!
Strapping (Great Added Security):
Depending on what is being shrink wrapped, you may need to use poly woven strapping around the base for added security. If using strapping as your base attachment, simply wrap the strapping around the object and tighten (use a strap tensioning tool & buckles) making sure about 4-6 inches of material hangs below the strapping. Take the material and fold up over the strapping and “tack” to the material above using spray adhesive. Using the heat tool, heat seam the tacked area to secure.
Wood Attachment (Best method to use when attaching the shrink wrap to a base or wood):
This is mostly used in containment/ construction projects. If you need to wrap equipment using this attachment method you will need wood laths and a nail/screw gun. You will take the shrink plastic wrap ends at the attachment point roll them around 1 x 2 or 1 x 4 wood lathe strips, securely fasten to the base of object or skid using a nail or screw gun.
100% Wrap:
If doing a 100% wrap of the object, measure and cut the length of material needed to go completely around the object. Lay material, semi-unfolded; down in a clean dry area. Place object off centered on the plastic shrink wrap and continue by bringing up and over the sides and “tacking” the ends together using spray adhesive or tape. Continue as you were wrapping a present, using the above mentioned pleating technique. Quick Shrink Wrap Tip: If shrink wrapping tall areas, try to land your seams in areas that are easier to access by off-centering the material.
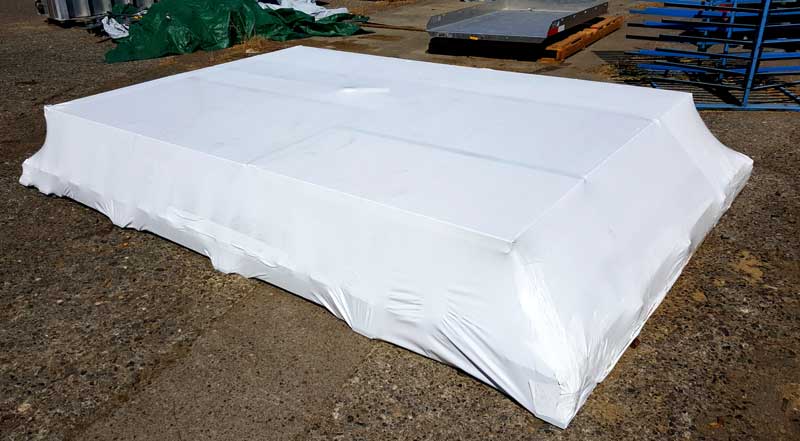
100% Shrink Wrapped Pallet for Outdoor Storage